Quick Start
The two settings that pay off before your first post, and where to create it once they are set.
Updated Sep 27, 2026
Two settings are worth getting right before you ever generate anything. Do them first, and your very first post already reflects your brand and draws on your own content universe instead of a blank slate.
1. Review Your Site Scan
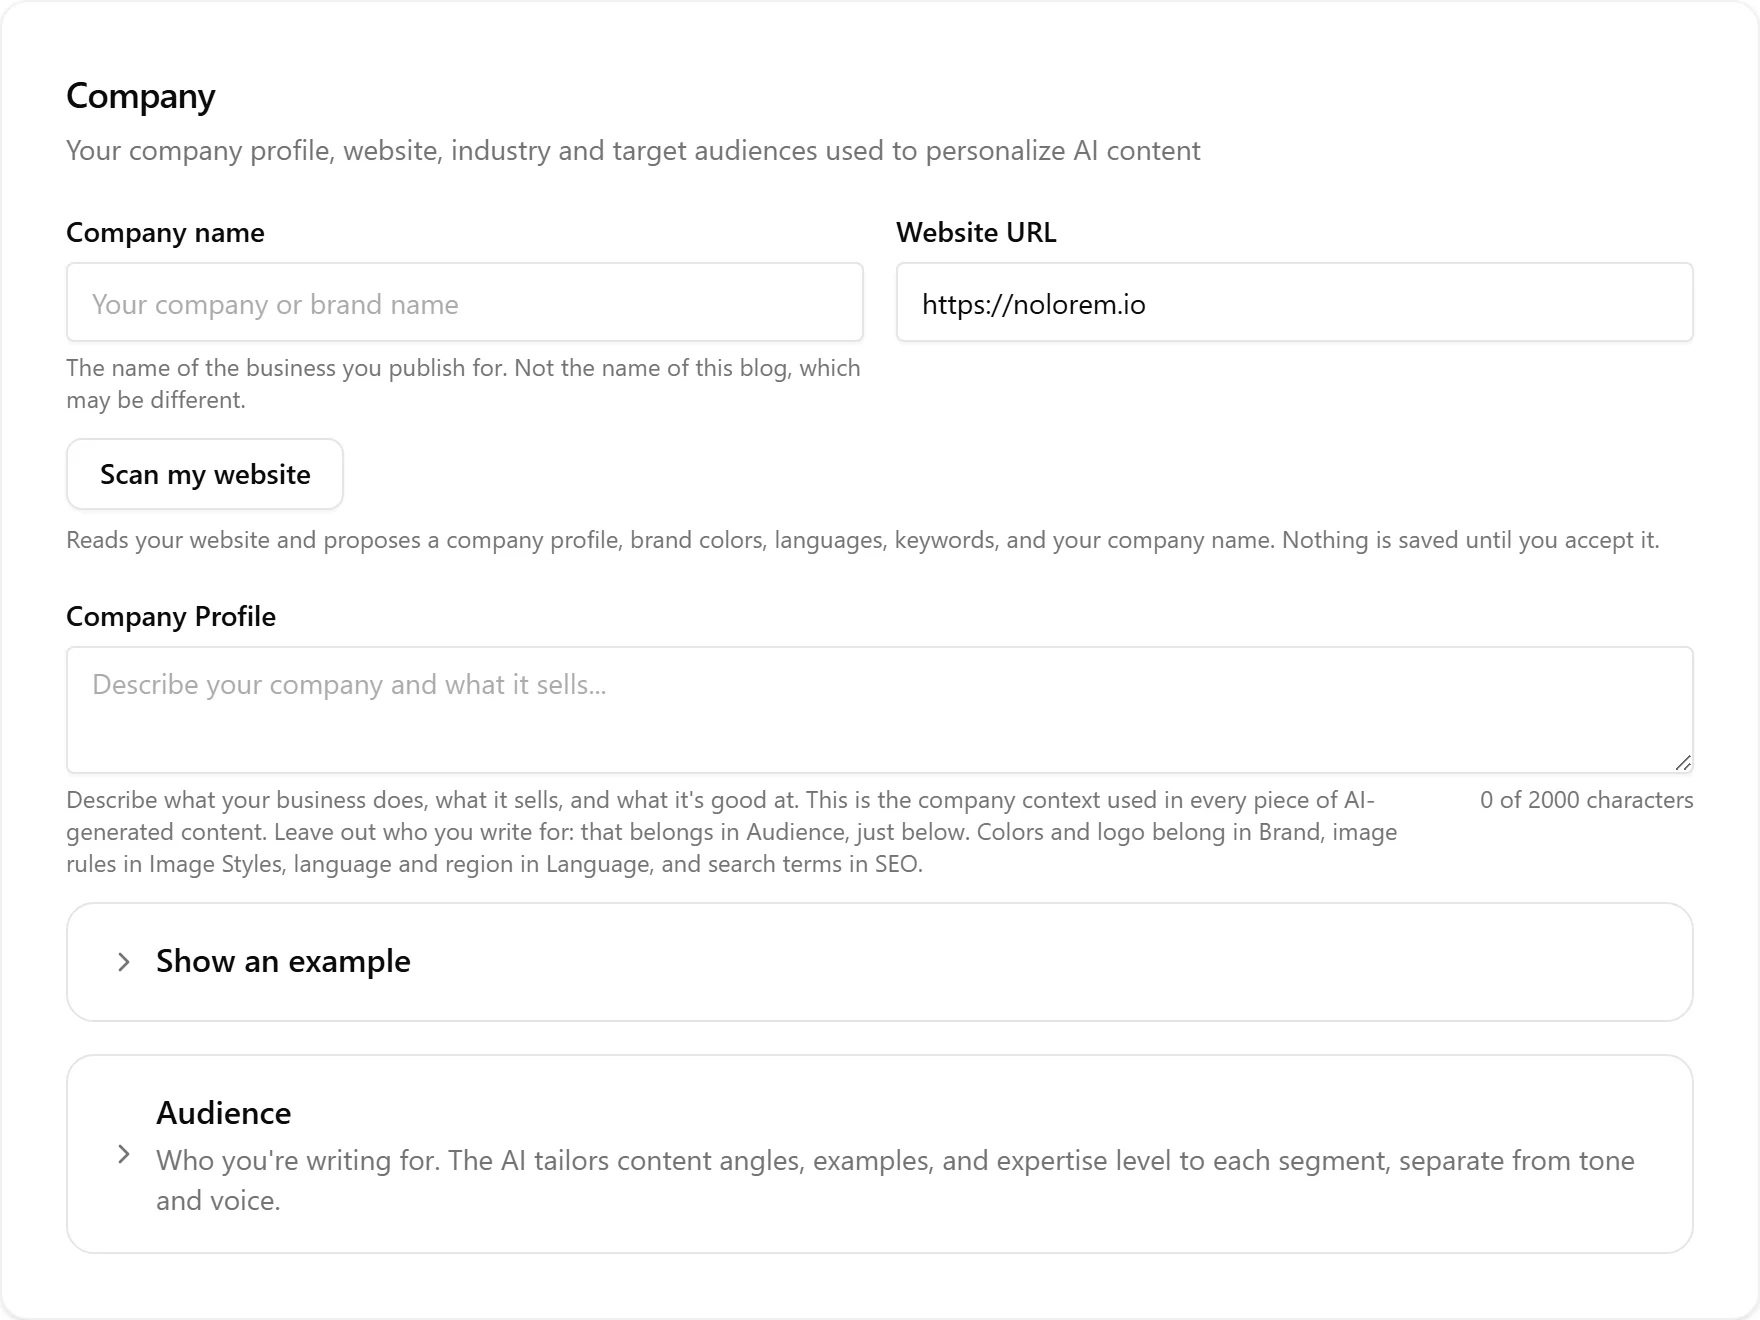
Start in Settings, under Company. Enter your website address and click Scan my website. Nolorem reads your site and proposes a company profile, brand colors, and a logo, shown alongside whatever you already have, ready for you to review before you accept anything. See Scan Your Website to Fill In Settings for the full walkthrough of everything a scan can propose and how to review it.
Brand colors and a logo apply per blog. If you run more than one blog, repeat this step from inside each one: the images and text Nolorem generates always draw on the brand of the blog they belong to, never on a blog you scanned somewhere else.
2. Add Your Feed Sources
Next, open Settings, under Feed Sources and add the RSS feeds, websites, and social profiles you already follow. Once they are in, the Create page reads them too: the suggestion cards under "Or start from a suggestion" pull ideas from your own feed, not only from generic trending topics. Skip this step and that suggestion column stays thinner than it needs to be.
3. Create Your First Post
With your brand and your feeds in place, you are ready for your first post. Open Getting Started with Your First Blog Post to walk through it step by step, from topic to published article.
Related articles
Was this article helpful?
Still need help?
Can't find what you're looking for? Open your support portal for live chat and tickets. Sign in with your Nolorem account.
Open support portal