Putting Your Logo on Generated Images
Upload your logos once, then choose one to appear on new AI-generated images and video, in the corner and size you pick, with no cost to remove it again.
Bijgewerkt op Aug 15, 2026
Nolorem can place one of your logos on the images and video it generates, so what you publish already looks like it came from your brand. Nothing appears until you turn it on.
One Brand per Blog
Your brand belongs to the blog you are working in: its colors, its logos, its visual identity, its image house rules, and this logo setting. Switch blog in the sidebar and the Brand section shows that blog's own brand. A field you leave empty on one blog stays empty, and never borrows a value from another blog.
When you create a blog, Nolorem starts it from the brand of the blog you were on, so you do not begin from nothing. In the new blog dialog you can pick a different source blog, or switch that copy off and start empty. After that the blogs are independent: editing one never changes the other.
A social post belongs to no blog, so there you pick which blog's brand the image carries, and separately whether the logo goes on it. See Generating AI Images.
Where to Find It
Go to Settings, Brand. Two sections there work together:
- Brand Logos -- where you upload the files.
- Logo on generated images -- where you choose which one to use, and where.
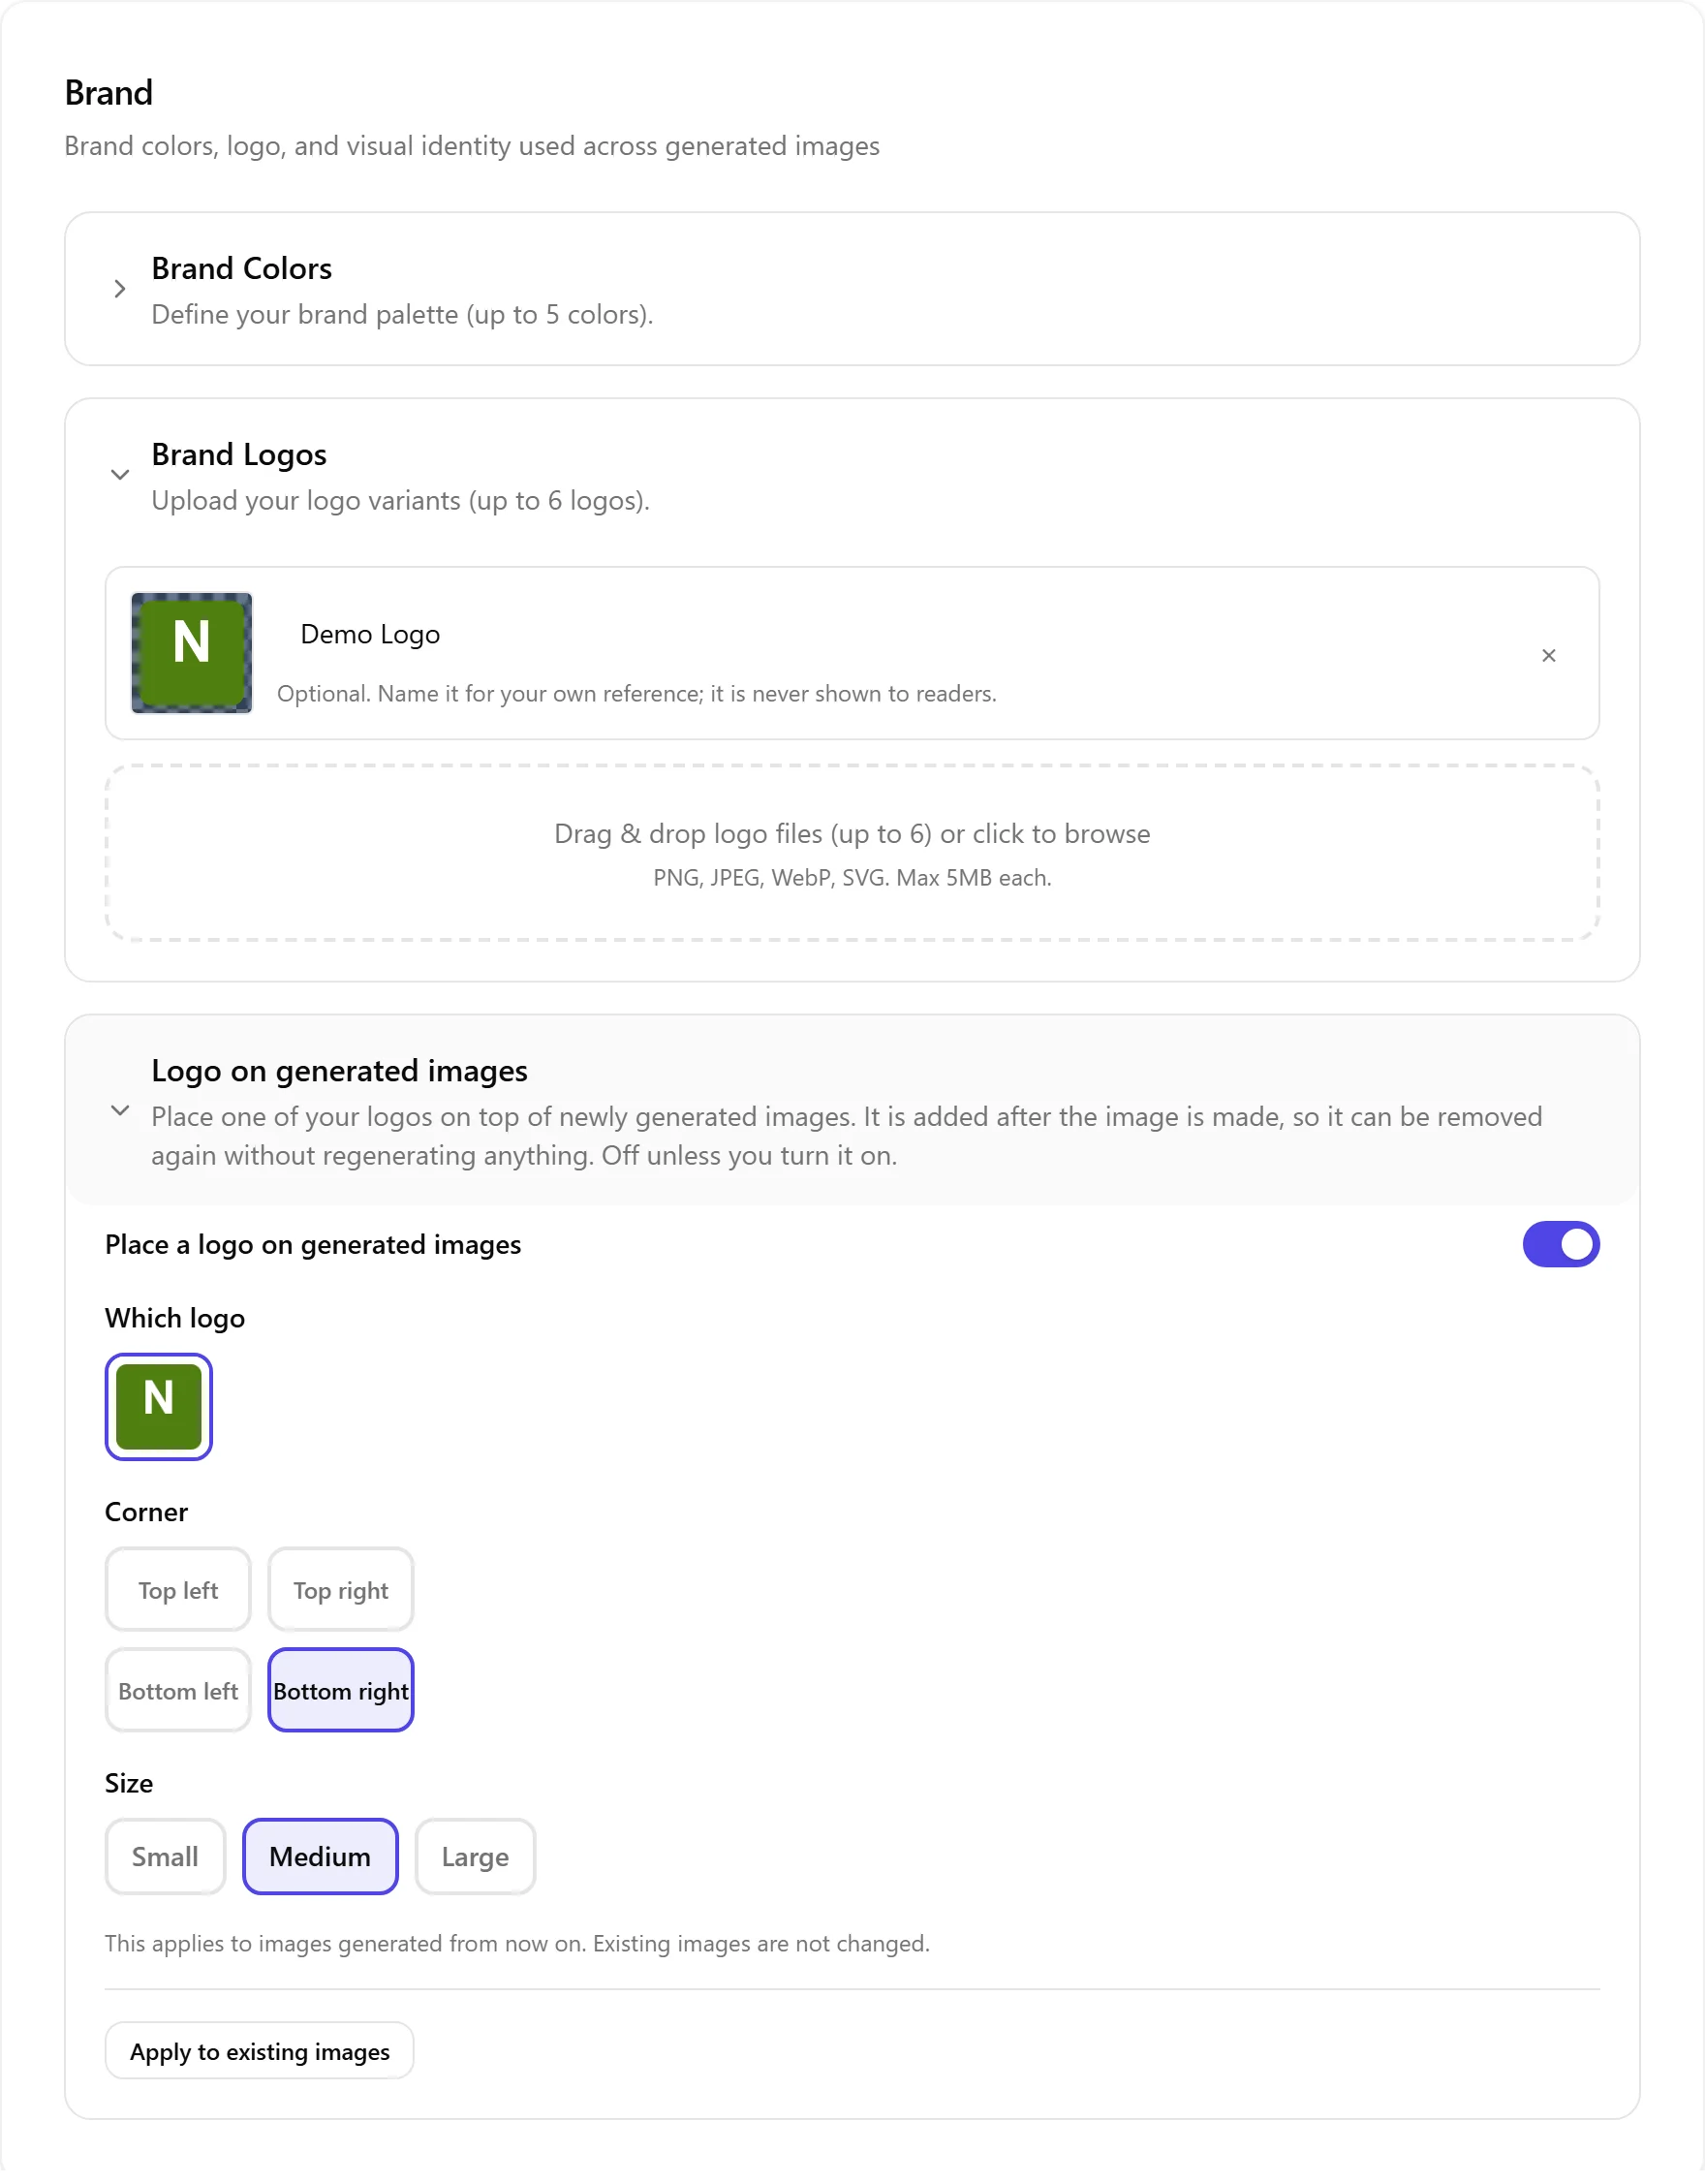
Uploading Your Logos
Drag one or more logo files onto the drop zone, or click it to browse -- you can add several at once. Nolorem accepts PNG, JPEG, WebP, and SVG files up to 2MB each, and you can keep up to 6 at a time.
A newly uploaded logo has no name of its own. Nolorem does not guess what a logo is ("With Tagline", "Icon Only", and similar labels are a thing of the past) -- if a name is useful to you, type one in yourself. It is only for your own reference and is never shown to your readers.
Choosing Where It Appears
In Logo on generated images, turn the switch on, then pick:
- Which logo -- from the ones you have uploaded.
- Corner -- top left, top right, bottom left, or bottom right.
- Size -- small, medium, or large.
This is off by default. Once it is on, it applies to images generated from that point forward, for both blog and social images, and to any video you render.
Removing It Costs Nothing
Nolorem keeps the original image, without the logo, alongside the version with the logo on it. Turning the logo off for a single image -- or removing it from your blog-wide default -- switches back to that original instantly. Nothing is regenerated, and it does not use any of your image generation allowance.
If placing a logo on a particular image would be hard to read (for example, a light logo on a light photo), Nolorem tells you so and suggests trying a different corner or a different logo. It never draws a background behind your logo to force it to fit -- that is a decision about your brand it leaves to you.
Catching Up Images You Already Generated
Turning the logo on only affects new images from that moment. If you want to add it to images you generated earlier, use Apply to existing images in the same section. It first tells you how many images it would touch, and how many of those belong to a post that is already published elsewhere -- for those, the change happens inside Nolorem, but the image already sitting on your live site does not update on its own. Only after you see those numbers and confirm does it actually make any changes.
What Comes Next
The site scan can also find a logo directly on your website and offer to add it here -- see Scan Your Website to Fill In Settings. And see Blog Settings Overview for how the Brand section fits alongside your other settings.
Gerelateerde artikelen
Was dit artikel nuttig?
Nog hulp nodig?
Vind je niet wat je zoekt? Open je supportportaal voor livechat en tickets. Meld je aan met je Nolorem-account.
Supportportaal openen